Note:
Seems like there is a lot to do, but it is worth the extra effort and in my opinion a good way to learn
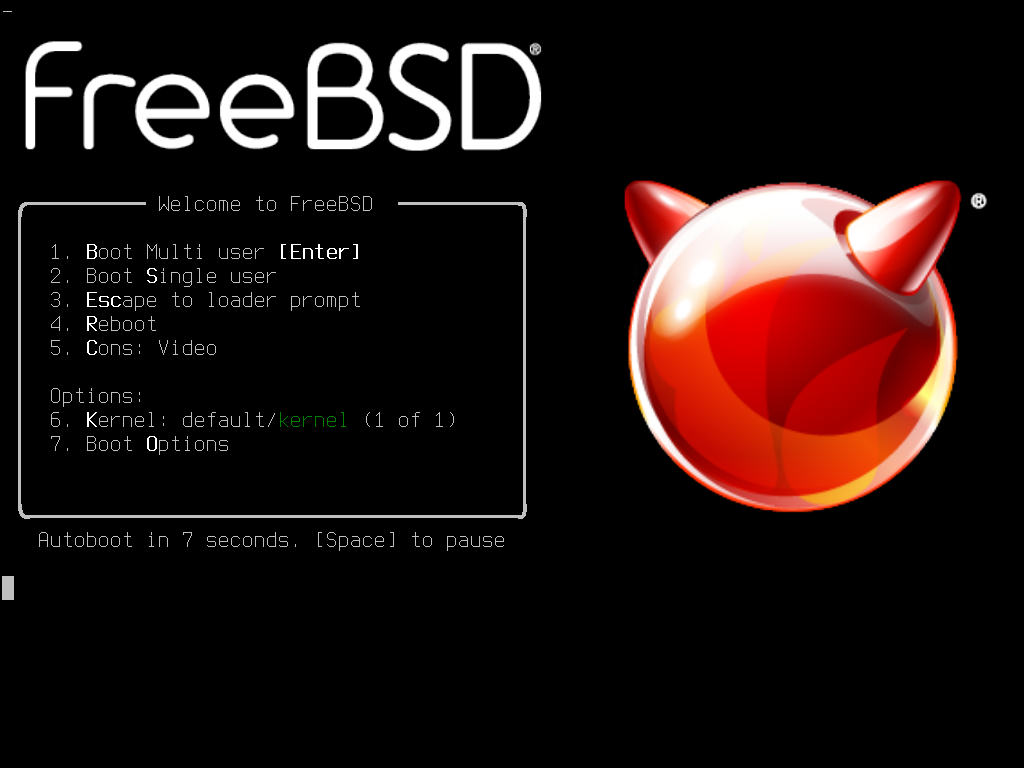
FreeBSD is very stable and reliable and does not constantly call home like some other OS's.
My preferred desktop is xcfe4 and this checklist is based on it, go to the link here for other desktops for FreeBSD.
Tick each box as you go below.
Tip:
FreeBSD Editor ee will be used below. At the top of the file window, you will see a list of commands.
These are all prefixed with a ^ symbol – this means the Control key.
Example: ^u end of file – press Ctrl + U keys
6. Adding Drives and Permission
7. Create Boot Backups using bectl for ZFS
Tip: Open Terminal sudo bsdconfig bsdconfig a Graphical User Interface to change freebsd configuration settings
Note: This checklist provides a general guide for setting up FreeBSD Desktop.
Specific steps may vary depending on your specific requirements.
Always refer to the official documentation for the most up-to-date information.
Related Guides and Checklists